Saturday, December 16, 2023

1. 17 Dec 2023 Ringbalin Light Railway HO Division has been Closed Permanently

I have made the difficult decision to dismantle my HO layout in the shed thus ending my participation in the HO side of the model train hobby after over 20 years and multiple layouts.

I have not touched it since January 2021 and have only run trains a handful of times in that period, it had turned into a dust and gecko droppings collector through neglect.

Having open heart surgery severely limited my construction efforts and additionally I spent more time focused on the G Scale Division.

I built the layout so I could run trains when it was to hot to go out into the garden in the summer time, but the temperatures in the shed have reached 39+ degrees C during that time which made being in there very uncomfortable.

I will now utilise the benchwork  to build a loop with storage tracks running off it for my G Scale locos and rolling stock.  

This will make running G Scale trains a more enjoyable experience as I will no longer have to carry them out, set them up and break them down for an operating session out on the layout .

I plan to use 3D printed points in the shed for the storage tracks but time will tell if they can handle the heat and not warp but it they do I can always print others. 

I plan to utilise the DCC bus as a DC bus to run accessories.

To follow my efforts in G Scale please view my blog at  https://ringbalin-light-railway.blogspot.com/p/blog-page.html which I will update as progress is made.


Saturday, January 2, 2021

2. January 2021 HO Column Mountain Spur, Tunnel and Cutting construction completed

Column Mountain is now complete.

The mountain dramatically reduces the visual impact of the shed support post on the layout, it is now one of 2 focal points depending on which way the layout approached (from inside the shed of through the roller door).

Front View

Right Hand Side view

Left Hand Side view


Looking down the Cutting

Cutting with train

Back to Construction Logs

Friday, January 1, 2021

1. January 2021HO Column Mountain Spur, Tunnel and Cutting construction continues

Column Mountain construction continues.

The foam shell has been coated with Acrylic House Render coloured with an oxide, this is the same as what I used on the G Division to make a couple of banks.  Ringbalin Light Railway G Division: Using House Render to make Cliffs/Cutting Walls (ringbalin-light-railway.blogspot.com)

Column Mountain Left Hand Side

Cutting through Mountain

Column Mountain Right Hand Side

Scenery will be added, I basing this on the "Glasshouse Mountains" because of the vertical shape; they are left over volcanic plugs
They were named by Capt James Cook in 1770; when he saw them they were wet from rain and reminded of the glasshouses of England.


Back to Construction Logs


Wednesday, December 30, 2020

9. December 2020 HO Mountain Spur, Tunnel and Cutting commenced

To try and hide a steel support post I am trying to reduce its visual impact by constructing a mountain spur around it.

I have named it Column Mountain.

Post from front

Post from side


Mountain concept front on

Mountain concept from side

I have started to construct the mountain using polystyrene foam to form the outline.

The polystyrene will be covered by a thin material over which will be spread a render made from acrylic gap filler coloured with artist acrylic paint and mixed with fine sand.

The mountain will extend from the backdrop to in front of the loop rail.

Mountain from Left Hand Side

Mountain from Right Hand Side showing cutting in front

Mountain from Front

Back to Construction Logs


Tuesday, December 29, 2020

8. December 2020 HO Loop is Complete and DCC Bus and Controller Installed

Work has recommenced on the HO layout after a break of almost a year as work on the G Division ( Ringbalin Light Railway G Division: About the Railway (ringbalin-light-railway.blogspot.com) ) took precedent.

The daytime temperature outside makes working on the G Division difficult so the HO division has now become the focus of attention.

The main loop was completed and tested using a toy train DC controller with trains being successfully run.

All that is now required is the decoders for the locos.


LH end of Loop

RH end of Loop

Middle of Loop

The  Capacitive Discharge Unit (CDU) used to change points remotely ( Ringbalin Light Railway HO Division: Point Control ) and an Auxiliary 12V Power Supply for accessories were mounted under the layout.


CDU in Centre, Power Supply to the Left

The next step was  to install the DCC Bus, Interface and Controller.

DCC Controller and Interface

The DCC Controller is an NCE "Power Cab" and it replaces a Toy Train DC controller used for initial wiring testing.

NCE Power Cab


DCC Interface Rear View


Toy Train DC Controller


Monday, January 20, 2020

7. January 2020 HO Backdrop (Acrylic Rendered Cutting)

Because I did not have any clearance behind the line as it ran down the side wall of the shed, I could not use the "soft rock" method to give the cutting any detail.
To overcome this I used a render of acrylic gap filler and fine sand to give some texture. 
I then dry brushed some acrylic artists paint so that I could get some sort of detail onto the cutting backdrop .


Wednesday, January 15, 2020

6. January 2020 HO Backdrop (Background Hills and Mountains)

I painted some background mountains behind the cutting and then painted some mid ground hills with "dabbed on" trees in front of them to give some impression of depth.  The mid ground hills were a continuation of the hills painted to blend in the Corner Mountain.


To reduce the visual impact of the steel support post I am considering building a mountain spur the will run towards the foreground which will necessitate either a tunnel or a deep cutting across the back and in front where the loop is planned to run. These sketches show an idea I am considering.


Back to Construction Logs


Monday, January 13, 2020

5. January 2020 HO Backdrop (Soft Rock Cutting)

I made a cutting face using the "Soft Rock" method, to which I added some foliage to define the upper level and "boulders" made from polystyrene foam to blend it into the baseboard..
It extends from the extreme left of the layout (across the back wall of the shed) to the extreme end of the Corner Mountain.
I could not extend it to the extreme right end of the layout from the Corner Mountain (across the side wall) due to clearance issues so resorted to a "rendered cutting" for that area.


Back to Construction Logs


Saturday, January 11, 2020

4. January 2020 HO Backdrop (Corner Mountain)

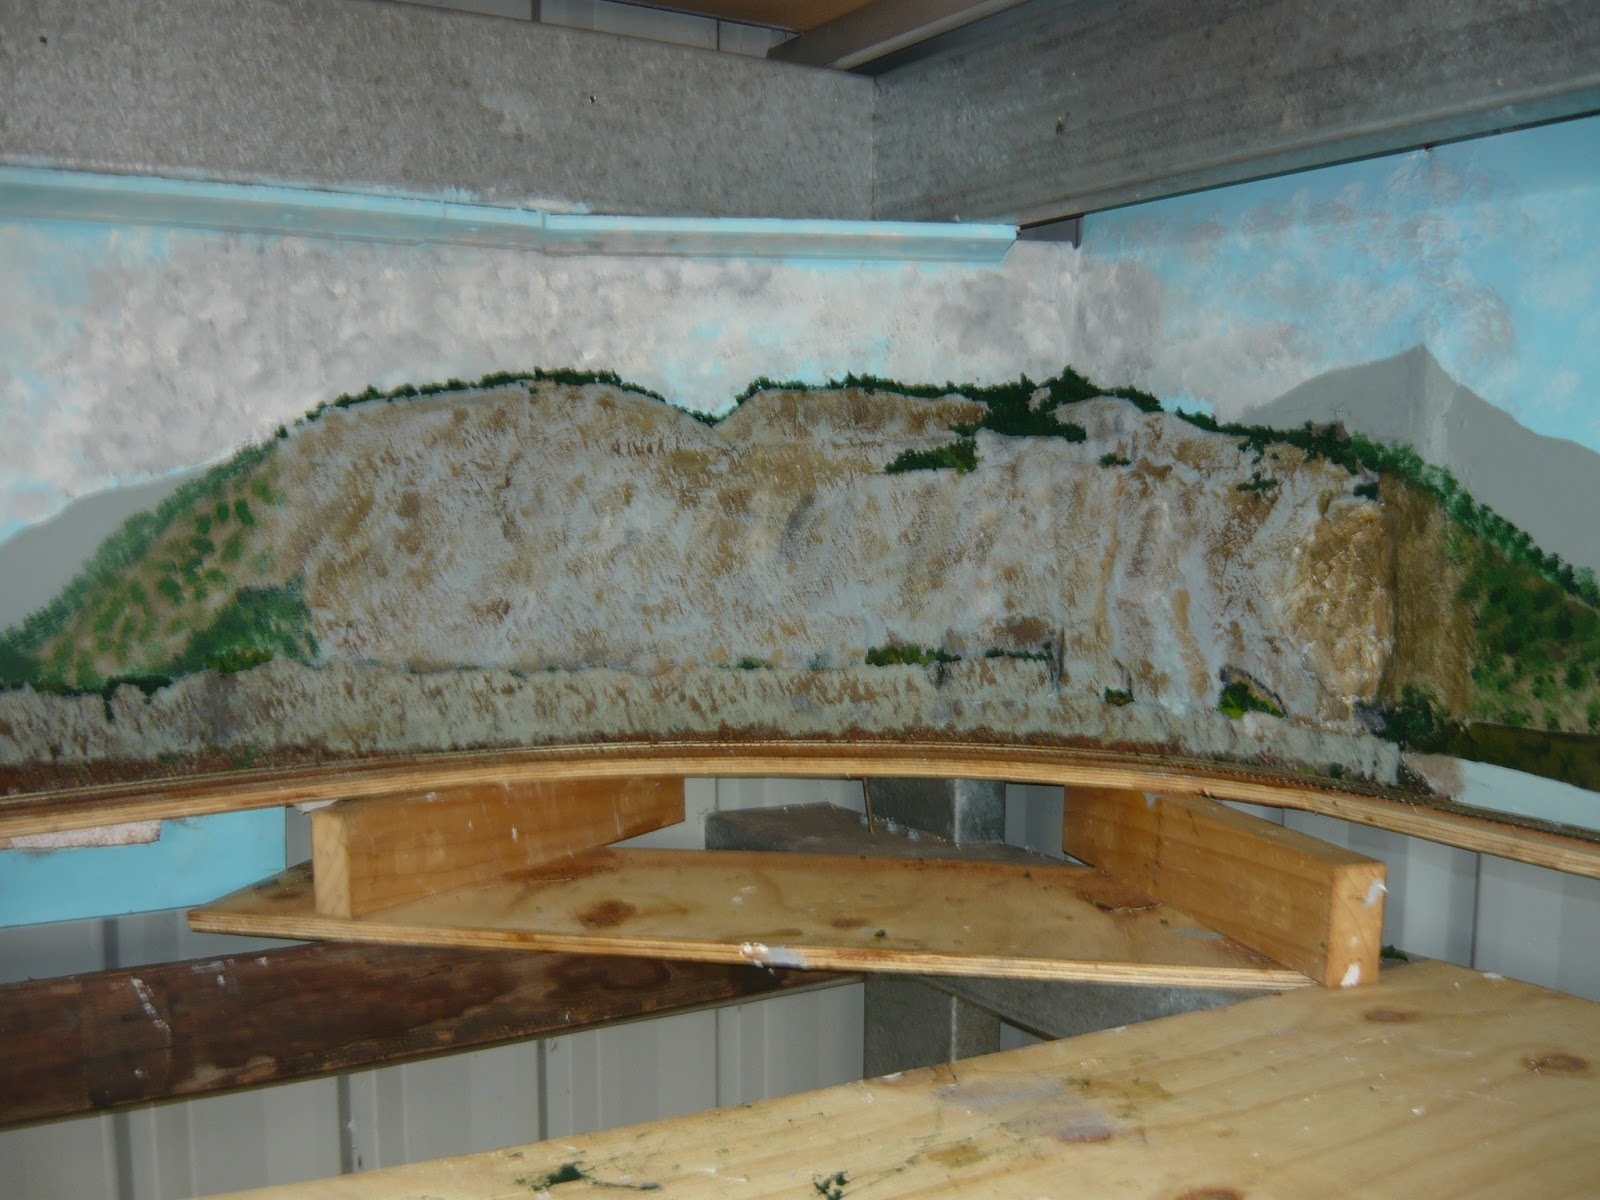
To fill in a corner I constructed a mountain from polystyrene foam boards which I then coated with an acrylic "render" made from Gap Filler mixed with fine sand and acrylic house paint.  
This was then dry brushed with acrylic artists paints, some foliage foam for trees to give some detail was used to define the skyline and to highlight the foreground "soft rock" cutting detail.
On either side I painted slopes that had "dabbed on" trees to soften the stark edges and to blend it in with the middle ground hills.


Back to Construction Logs


Thursday, January 9, 2020

3. January 2020 HO Background Painting and Mountain Construction

A mountain outline was painted on the lower part of the backdrop and in a corner a “mountain” was constructed out of polystyrene foam board
This is still a "Work In Progress", over the polystyrene a mixture of house paint tinted grey and fine dry sand (as used to make bricklayers render) will smeared on to give a hard shell with a rough texture and more detail will be added like carving the polystyrene to give some detail plus a rock cutting across the front of the mountain scenes.


Back to Construction Logs

Monday, January 6, 2020

2. January 2020 HO Scenery Backdrops Started

After the base boards were cut and fitted, 3mm MDF board backdrops were fixed to hide the walls of the shed.

The Blue sky is painted with white low sheen acrylic house paint tinted by adding blue artist’s acrylic till a shade that looked good was achieved.

The clouds effect was achieved by dabbing white paint on with a cotton rag. 

The grey was achieved by dabbing the white into some black poster paint and using the rag to mix it on a plastic palette till I got a shade that looked right.


Back to Construction Logs